There’s something magical about a fresh snowfall. The crunch underfoot, the quiet blanket over the world. What if that snow could become more than just a backdrop?
Making snow ice cream turns a winter wonderland into a kitchen adventure. This snow cream recipe needs just minutes and a few pantry staples. It delivers a taste of childhood nostalgia.
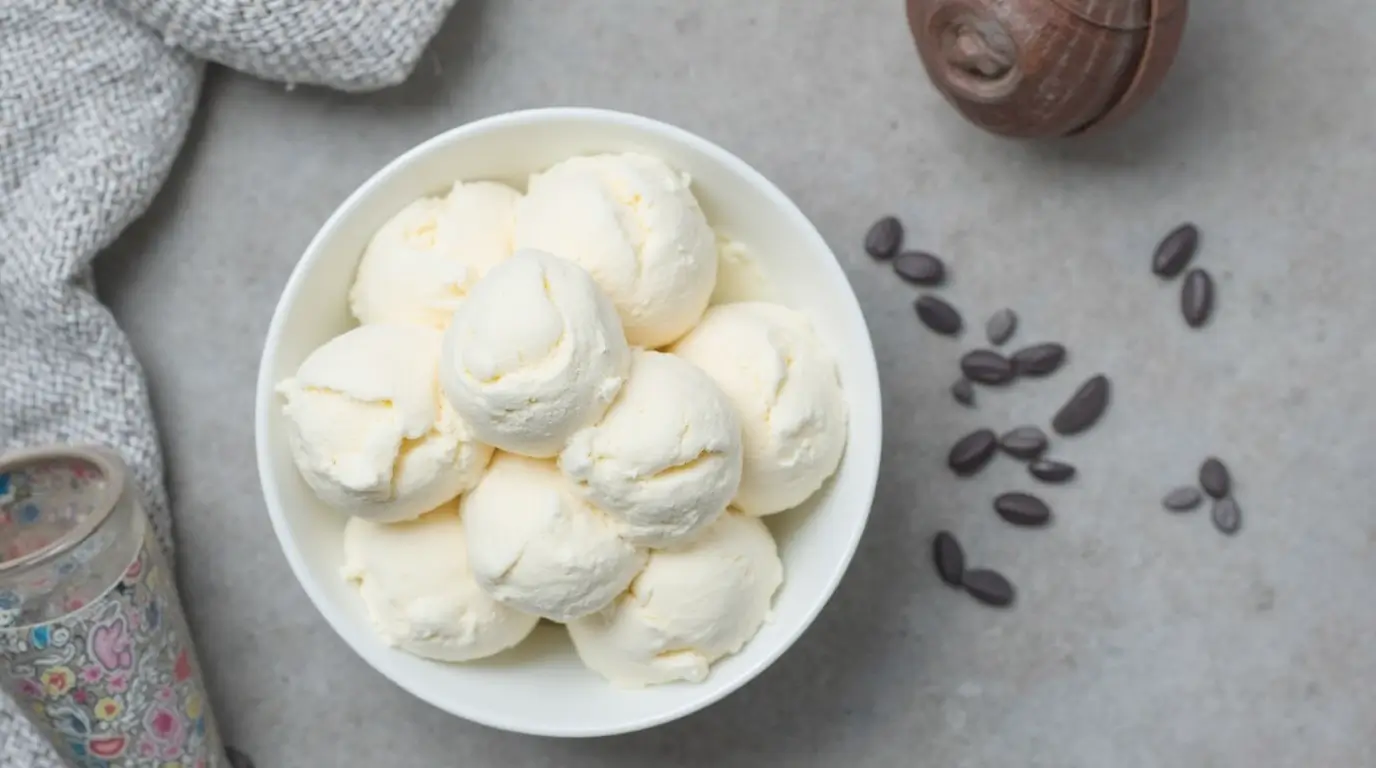
Imagine savoring a bowl of creamy vanilla snow, cold and sweet, while the flakes still fall outside. It’s simple, playful, and perfect for any snowy day.
Table of Contents
Gather Your Ingredients
To start making how to make snow cream, first get all the ingredients. Safety and quality are key. Use clean, untouched snow from a pollution-free spot like your backyard or a mountain trail.

Quality Snow Selection
Snow purity is crucial. Stay away from snow near roads or walkways to avoid contamination. The best snow is fresh and powdery, not melted and refrozen. Check local air quality reports if you’re unsure. This ensures a safe treat for everyone.
Condensed Milk and Other Essentials
Core ingredients include:
- Condensed milk (canned or dairy-free alternatives like coconut milk)
- Vanilla extract for flavor
- Sugar (optional, if snow is too bland)
- Fine sea salt to balance sweetness
For dietary needs, use plant-based options like oat or almond milk instead of condensed milk. Choose high-quality extracts and unrefined sugars for a richer taste. These basics make a creamy texture without additives.
Preparing Your Snow Base
Before you start mixing, getting your snow base ready is crucial. Look for fresh, clean snow, avoiding polluted or melted areas. Put the snow in a big bowl and use a fork to break up any clumps for a smooth texture.
Chill your mixing bowl in the freezer for 20-30 minutes before you begin. This keeps the snow cold while you mix. If the snow melts too fast, keep it in an insulated container while you prepare other ingredients. Here’s how to make your base perfect:
- Collect snow early in the day when it’s coldest.
- Line storage containers with clean parchment paper to prevent contamination.
- Work in a cool kitchen area to slow melting.
| Issue | Solution |
|---|---|
| Snow melting too fast | Pre-chill all equipment and use insulated containers |
| Ice chunks forming | Sift snow through a mesh strainer before mixing |
Never use melted snow again—throw it away and get fresh snow if it starts to warm up. Keeping everything clean is important. Use sterilized containers and wait until all ingredients are ready before adding them. This way, your snow base stays cold and safe for mixing.
Mixing Ingredients Step-by-Step
Making easy snow cream with condensed milk needs careful steps. First, prepare your tools and workspace for a smooth process.
Measure and Pour Accurately
Use measuring cups for condensed milk and vanilla extract. Exact measurements are key for consistent results. Here’s how to do it:
- Pour 1 can (14 oz) of condensed milk into a mixing bowl.
- Stir in 1 teaspoon of vanilla extract and blend thoroughly.
- Slowly add clean, packed snow (about 4 cups) to the liquid mix.
Stir Thoroughly for a Smooth Mixture
Blend until no lumps are left. Use a spoon or whisk for 2–3 minutes. Remember these tips:
- Stop every 30 seconds to scrape the bowl edges.
- Check the texture by pinching a small amount. It should maintain its shape without falling apart.
- Adjust the mix by adding snow (thicker) or milk (softer).
Be patient to keep the texture fluffy and creamy. Avoid overmixing to prevent icy texture. Stop mixing once everything is well combined.
Perfecting Your Texture and Taste
Turn your snow cream into a special snow day dessert by adjusting sweetness and texture. Each bite should mix cold snow with creamy richness. Here’s how to achieve it.
Adjust Sweetness to Your Preference
Begin with a small taste of the mix. If it’s too bland, add 1-2 tablespoons of sugar or a bit of vanilla syrup. For a deeper flavor, mix in some whipped cream. Continue tasting and tweaking until it’s perfect.
Mix Until Seamless
Be careful not to overmix, as it can melt the snow and make it watery. Use a spoon to gently fold the ingredients until smooth. Stop when it’s still a bit icy. Tip: Work fast to prevent the snow from melting.
- Test sweetness early to avoid over-sweetening
- Use a chilled bowl to slow melting
- Experiment with cinnamon or chocolate syrup as final touches
A perfectly balanced snow day dessert is waiting for you. Small adjustments now will make every spoonful your perfect mix of crisp snow and sweet cream.
Snow cream recipe: Easy Step-by-Step Guide
Learn to make your snow cream recipe better with shortcuts and upgrades. These tips will save you time and add exciting flavors without making things complicated.
Time-saving Hints
- Use a blender to mix snow and condensed milk in 2 minutes instead of hand-stirring.
- Freeze snow in batches ahead of time to avoid waiting for it to harden.
- Pre-measure sweeteners like Domino cane sugar in small containers for quick additions.
Flavor Enhancements and Tips
Try these ideas to transform your snow cream:
- Add 2 tablespoons of Hershey’s cocoa powder for chocolate snow cream.
- Blend in 1/2 teaspoon of pure vanilla extract for depth.
- Stir in fresh berries or thawed frozen fruit like strawberries for a fruity twist.
| Flavor Type | Key Ingredients | Pairing Ideas |
|---|---|---|
| Chocolate | Cocoa powder, chocolate chips | Top with whipped cream |
| Fruit | Strawberry syrup, mango chunks | Pair with graham cracker crumbs |
| Creamy | Vanilla extract, peanut butter | Sprinkle with sea salt |
Keep leftovers in an airtight container for up to 4 hours. Feel free to modify the ingredients to suit your preferences.
Serving and Enjoying Your Homemade Snow Ice Cream
Serve your homemade snow ice cream fresh for the best taste. It melts fast, so have bowls ready. Enjoy it in small portions, like in mason jars, for a cozy feel.
Make your bowl special with toppings. Try crushed graham crackers, rainbow sprinkles, or caramel sauce. For a sweet touch, add fresh berries or sea salt. Here are some ideas:
- Garnish with a scoop of whipped cream and a cherry on top
- Add a dash of vanilla extract before serving
- Sprinkle cocoa powder for a chocolate twist
Enjoy it with warm cookies or hot cocoa for a cozy treat. Store leftovers in a sealed container for 2 hours. But, the texture might change. Share it with friends for a fun, snowy time.
Creative Variations to Elevate Your Dessert
Want to make your homemade snow ice cream even better? Try adding mix-ins and new flavors. You can make it sweet, crunchy, or fruity. Let’s find ways to make your snow ice cream special.
Mix-ins and Toppings Ideas
Here are some fun things to add:
- Chocolate chips or cocoa nibs for a rich, melty contrast
- Crushed nuts like walnuts or pistachios for a satisfying crunch
- Fresh berries or sliced bananas for a fruity burst
- Caramel or peanut butter drizzle for decadent layers
Exploring New Flavor Dimensions
Change up your snow ice cream with these tips:
- Swap vanilla extract for almond or coconut extracts
- Sprinkle a bit of cinnamon or nutmeg for a warm, cozy flavor
- Mix in a spoonful of espresso powder for mocha depth
- Blend in citrus zest (orange, lemon) for a bright finish
Layer mix-ins or freeze flavors for a cool look. Even a sprinkle of sea salt can make it sweeter. Your snow ice cream can be anything you dream up!
Conclusion
Preparing homemade snow cream is an enjoyable winter pastime. It brings joy to snowy days. Start with clean snow, then mix in condensed milk, vanilla, or other flavors.
This easy recipe lets you enjoy the season’s beauty in your kitchen. You can add chocolate chips or fruit to make it your own. Sharing this treat with loved ones makes it a memorable experience.
Try mint extract or caramel drizzle for endless creativity. Next time it snows, make a sweet snack. This quick, no-fuss dessert proves winter can be both playful and delicious.
Your next cozy evening just needs a few steps and a snowy backyard. Enjoy a frosty, homemade treat.